 Kia Sedona: Repair procedures
Third generation YP (2014-2025) / Kia Sedona YP Service Manual / Automatic Transaxle System / Automatic Transaxle System / Repair procedures
| Removal |
| 1. |
Remove the air cleaner assembly.
(Refer to Engine Mechanical System - "Air Cleaner) |
| 2. |
Remove the battery and battery tray.
(Refer to Engine Electrical System - "Battery") |
| 3. |
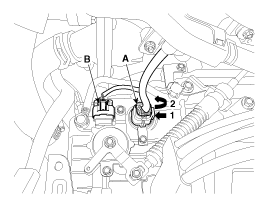
Disconnect the solenoid valve connector (A) and inhibitor switch connector (B).
|
| 4. |
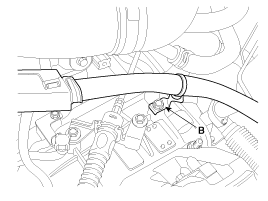
Remove the wiring from the bracket (A, B).
|
| 5. |
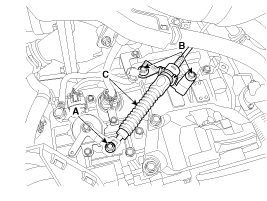
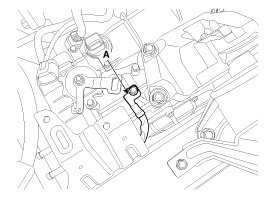
Remove the shift cable (C) after loosening the nut (A) and bolts (B).
|
| 6. |
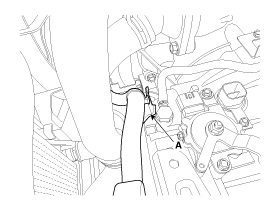
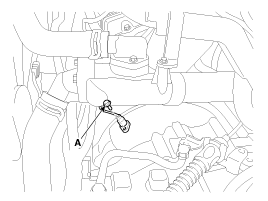
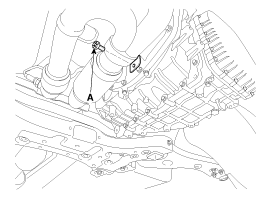
Disconnect the hose after removing the ATF cooler hose clamp (A).
|
| 7. |
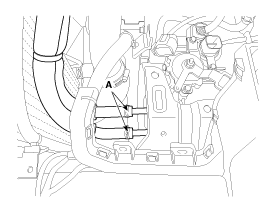
Remove the ground line after loosening the bolt (A).
|
| 8. |
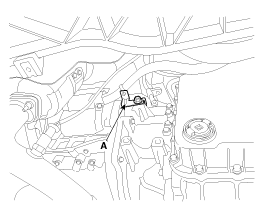
Remove the CKP sensor (A).
|
| 9. |
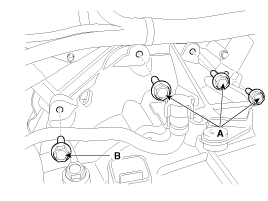
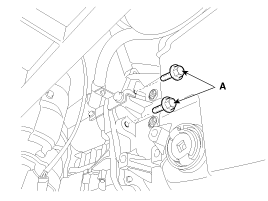
Remove the transaxle upper mounting bolts (A, B).
|
| 10. |
Remove the cowl top cover.
(Refer to Body - "Cowl Top Cover") |
| 11. |
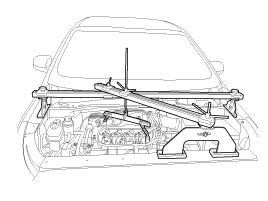
Assemble the engine support fixture on the engine room.
(Refer to Special Service Tools - "Engine support fixture assembly drawing")
|
| 12. |
Remove the front wheel guard on the left side.
(Refer to Body - "Front Wheel Guard") |
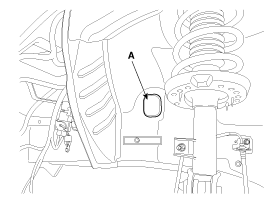
| 13. |
Remove the cover (A).
|
| 14. |
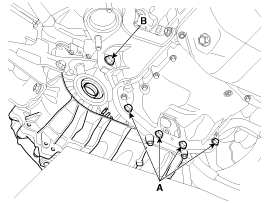
Loosen the transaxle mounting bolts (A).
|
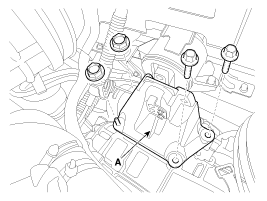
| 15. |
Remove the transaxle support bracket (A).
|
| 16. |
Remove the under cover and side cover.
(Refer to Engine Mechanical System - "Engine Room Under Cover") |
| 17. |
Remove the drive shaft assembly.
(Refer to Driveshaft and Axle - "Front Driveshaft") |
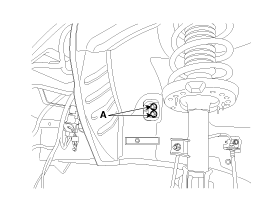
| 18. |
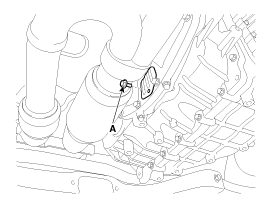
Remove the cover (A).
|
| 19. |
Remove the torque converter mounting bolts (A) by rotating the crankshaft.
|
| 20. |
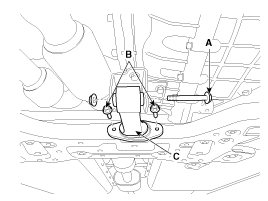
Remove the roll rod bracket (C) after removing bolts (A, B).
|
| 21. |
Remove the roll support bracket (A).
|
| 22. |
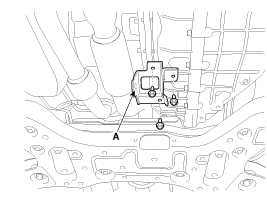
Remove the wiring bracket (A).
|
| 23. |
Support the transaxle safely by using the jack. |
| 24. |
Loosen the starter mounting bolts (A).
|
| 25. |
Loosen the transaxle lower mounting bolts (A).
|
| 26. |
After separating the transaxle from the engine, remove the transaxle by lowering the jack slowly.
|
| Installation |
| 1. |
Install in the reverse order of removal.
|
 Components and Components Location
Components
1. Automatic transaxle assembly2. Automatic transaxle support bracket3. Torque convertor4. Inhibitor switch5. Solenoid valve connector6. Manual control lever7. ATF cooler pipe8. Valve ...
 Clutch & Brake
...
Other Information:
Malfunction Indicator Lamp (MIL)
This warning light illuminates :
Once you set the ignition switch or Engine Start/Stop Button to the ON position.
- It remains on until the engine is started.
When there is a malfunction wit ...
How to use the Smart Tailgate
The tailgate can be opened with notouch activation satisfying all the conditions
below.
After 15 seconds when all doors are closed and locked
Positioned in the detecting area for more than 3 s ...
Categories
- Home
- First Generation
- Second Generation
- Third generation
- Kia Sedona YP 2014-2025 Owners Manual
- Kia Sedona YP 2014-2025 Service Manual
Copyright © www.kisedona.com 2016-2025

