
 Kia Sedona: Brake Booster Repair procedures
Third generation YP (2014-2026) / Kia Sedona YP Service Manual / Brake System / Brake System / Brake Booster Repair procedures
| Brake Booster Operating Test |
For simple checking of the brake booster operation, carry out the following tests.
| 1. |
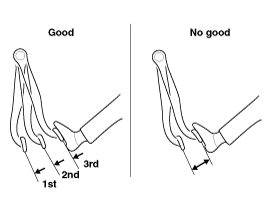
Run the engine for one to two minutes, and then stop it. If
the pedal depresses fully initially but gradually becomes higher in the
successive attempts, the booster is operating properly. If the pedal
height remains unchanged, the booster is inoperative.
|
| 2. |
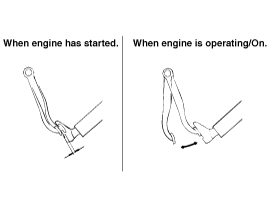
With the engine stopped, step on the brake pedal several times.
Then step on the brake pedal and start the engine. If the
pedal moves downward slightly, the booster is in good condition. If
there is no change, the booster is inoperative.
|
| 3. |
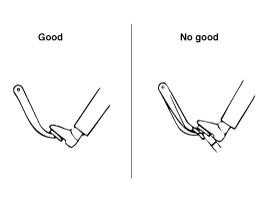
With the engine running, step on the brake pedal and then
stop the engine. Hold the pedal depressed for 30 seconds. If the pedal
height does not change, the booster is in good condition, and if the
pedal rises, the booster is inoperative.
If the three tests above are satisfied, the booster performance can be considered as in good condition.
Even if one of the above three tests is unsatisfactory, check the check valve, vacuum hose and booster for malfunction.
|
| Removal |
| 1. |
Turn ignition switch OFF and disconnect the negative (-) battery cable. |
| 2. |
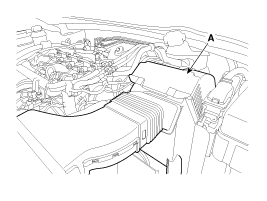
Remove the air cleaner (A) assembly.
|
| 3. |
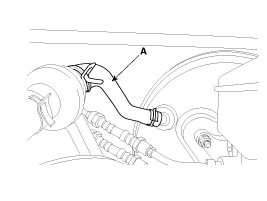
Disconnect the vacuum hose (A) from the brake booster.
|
| 4. |
Remove the master cylinder.
(Refer to the master cylinder) |
| 5. |
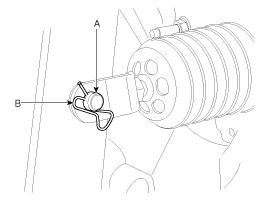
Remove the snap pin (A) and clevis pin (B).
|
| 6. |
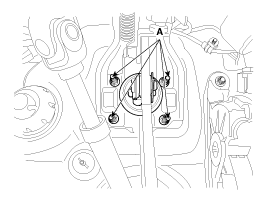
Remove the mounting nuts (A).
|
| 7. |
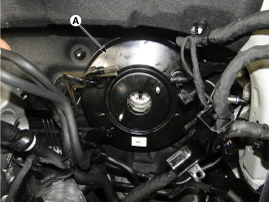
Remove the brake booster (A).
|
| Inspection |
| 1. |
Inspect the check valve in the vacuum hose, intensifier and the connecting section.
|

| 2. |
Check the boot for damage.
|
| Installation |
| 1. |
Install in the reverse order of removal.
|
| 2. |
After installation, bleed the brake system.
(Refer to Brake system - "Brake system Bleeding") |
 Brake Booster Components and Components Location
Components
1. Brake booster2. Master cylinder assembly3. O-ring
...
 Master Cylinder Components and Components Location
Components
1. Reservoir cap2. Reservoir3. Grommet4. Master cylinder5. O-ring
...
Other Information:
Opening the fuel filler lid
The fuel filler lid must be opened from inside the vehicle by pulling up the
fuel filler lid opener.
If the fuel filler lid does not open because ice has formed around it, tap lightly
or push o ...
Front Seat Shield Inner Cover Repair procedures
Replacement
•
When prying with a flat-tip screwdriver, wrap it with
protective tape, and apply protective tape around the related parts, to
prevent damage. ...
Categories
- Home
- First Generation
- Second Generation
- Third generation
- Kia Sedona YP 2014-2026 Owners Manual
- Kia Sedona YP 2014-2026 Service Manual

Copyright © www.kisedona.com 2016-2026