 Kia Sedona: STG Spindle Repair procedures
Third generation YP (2014-2025) / Kia Sedona YP Service Manual / Body Electrical System / Smart Tailgate System / STG Spindle Repair procedures
| Removal |
[LH]
| 1. |
Disconnect the negative (-) battery terminal. |
| 2. |
Remove the tail gate trim [LH].
(Refer to Body - "Tail Gate Trim") |
| 3. |
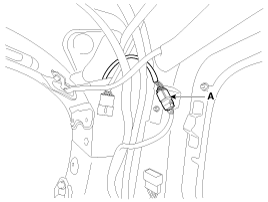
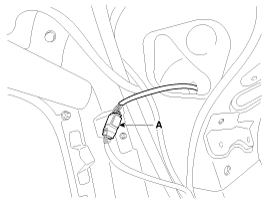
Disconnect the STG spindle connector (A).
|
| 4. |
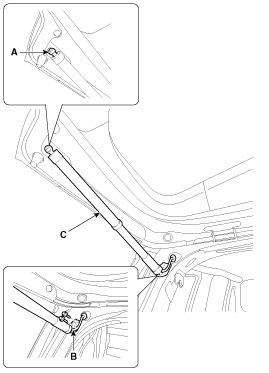
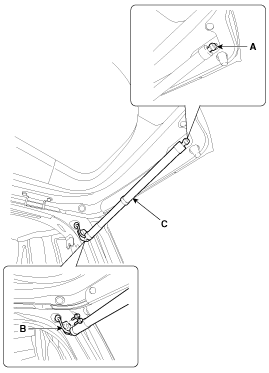
Using a screwdriver, loosen the bracket (B) mounting bolts after lifting the socket clips (A) up slightly. |
| 5. |
Remove the STG spindle assembly (C).
|
[RH]
| 1. |
Disconnect the negative (-) battery terminal. |
| 2. |
Remove the luggage side trim [RH].
(Refer to Body - "Luggage Side Trim") |
| 3. |
Remove the tail gate trim [RH].
(Refer to Body - "Tail Gate Trim") |
| 4. |
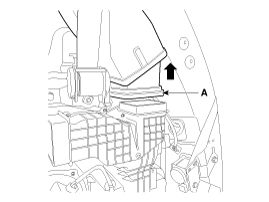
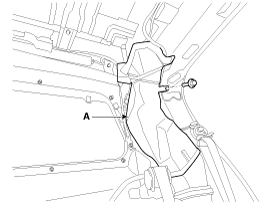
Pull up the bottom of rear A/C duct (A).
|
| 5. |
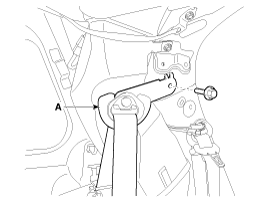
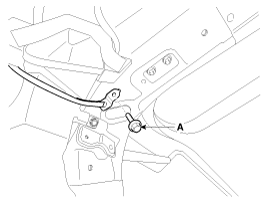
Remove the third row seat belt upper anchor (A) after loosening the bolt.
|
| 6. |
Loosen the mounting bolt (A).
|
| 7. |
Remove the rear A/C duct (A) after loosening the bolt.
|
| 8. |
Disconnect the STG spindle connector (A).
|
| 9. |
Using a screwdriver, loosen the bracket (B) mounting bolts after lifting the socket clips (A) up slightly. |
| 10. |
Remove the STG spindle assembly (C).
|
| Installation |
[LH]
| 1. |
Install the STG spindle assembly.
|
| 2. |
Connect the STG spindle connector. |
| 3. |
Install the tail gate pillar trim [LH]. |
| 4. |
Connect the negative (-) battery terminal. |
[RH]
| 1. |
Install the STG spindle assembly.
|
| 2. |
Connect the STG spindle connector. |
| 3. |
Install the rear A/C duct. |
| 4. |
Install the third row seat belt upper anchor.
|
| 5. |
Install the luggage side trim [RH]. |
| 6. |
Install the tail gate pillar trim [RH]. |
| 7. |
Connect the negative (-) battery terminal. |
 Anti-Pinch Strip Repair procedures
Removal
1.
Disconnect the negative (-) battery terminal.
2.
Remove the tail gate trim.
(Refer to Body - "Tail Gate Trim")
3.
Disconnect the anti-pinch strip sensor connector (A).
4.
R ...
 Sun Roof
...
Other Information:
Components and Components Location
Components
1. RH Cylinder head2. RH Cylinder head gasket3. LH Cylinder head4. LH Cylinder head gasket5. Cylinder block
1. Camshaft bearing cap 2. Camshaft thrust bearing cap 3. RH Exhaust ca ...
Detecting sensor
The sensors are located inside of the rear bumper.
Always keep the rear bumper clean for the system to work properly. ...
Categories
- Home
- First Generation
- Second Generation
- Third generation
- Kia Sedona YP 2014-2025 Owners Manual
- Kia Sedona YP 2014-2025 Service Manual
Copyright © www.kisedona.com 2016-2025

