
 Kia Sedona: Main Crash Pad Assembly Repair procedures
Third generation YP (2014-2026) / Kia Sedona YP Service Manual / Body (Interior and Exterior) / Crash Pad / Main Crash Pad Assembly Repair procedures
| Replacement |
Put on gloves to protect your hands. |

|

| 1. |
Remove the floor console.
(Refer to Floor Console - "Floor Console Assembly ") |
| 2. |
Remove the front pillar trim.
(Refer to Interior Trim - "Front Pillar Trim") |
| 3. |
Remove the cowl side trim.
(Refer to Interior Trim - "Cowl Side Trim") |
| 4. |
Remove the instrument cluster.
(Refer to Interior Trim - "Cowl Side Trim") |
| 5. |
Remove the crash pad lower panel.
(Refer to Crash Pad - "Crash Pad Lower Panel") |
| 6. |
Remove the glove box housing.
(Refer to Crash Pad - "Glove Box Housing") |
| 7. |
Remove the audio unit or AVN head unit.
(Refer to Body Electrical System - "Audio Unit")
(Refer to Body Electrical System - "AVN Head Unit") |
| 8. |
Remove the crash pad center lower panel.
(Refer to Crash Pad - "Crash Pad Center Panel") |
| 9. |
Remove the steering column shroud lower panel.
(Refer to Crash Pad - "Steering Column Shroud Panel") |
| 10. |
Remove the steering wheel.
(Refer to Steering System - "Steering Wheel") |
| 11. |
Remove the steering wheel.
(Refer to Body Electrical System - "unction Switch") |
| 12. |
Remove the center fascia upper panel.
(Refer to Crash Pad - "Center Fascia Panel") |
| 13. |
Remove the center fascia lower panel.
(Refer to Crash Pad - "Center Fascia Panel") |
| 14. |
Remove the multi box.
(Refer to Crash Pad - "Multi Box") |
| 15. |
Using a screwdriver, disconnect or remove the navigation switch (A).
|
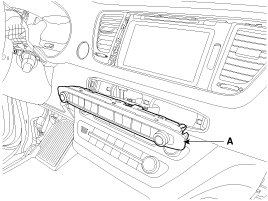
| 16. |
Disconnect the navigation switch connectors (A).
|
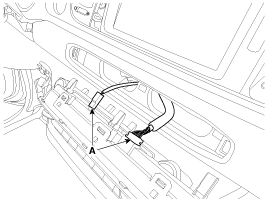
| 17. |
Loosen the screw and remove the crash pad lower switch panel (A).
|
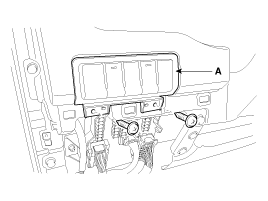
| 18. |
Disconnect the crash pad lower switch panel connector (A).
|
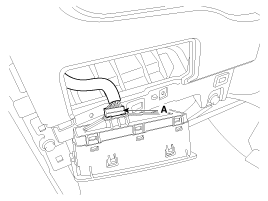
| 19. |
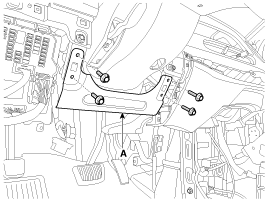
Loosen the bolts and remove the knee bolster panel (A).
|
| 20. |
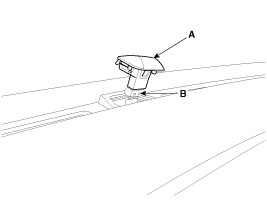
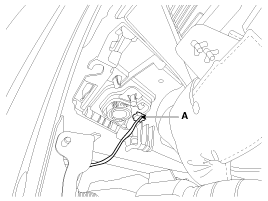
Using a screwdriver or remover, remove the photo sensor (A). |
| 21. |
Disconnect the photo sensor connector (B).
|
| 22. |
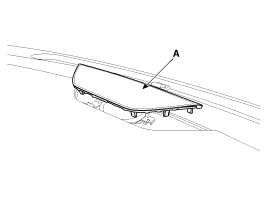
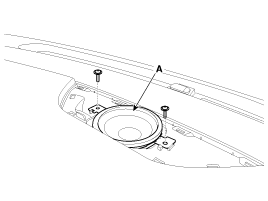
Remove the center speaker.
|
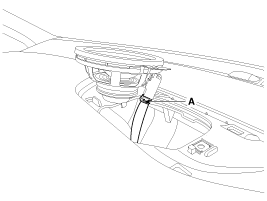
| 23. |
Disconnect the passenger''s airbag connector (A).
|
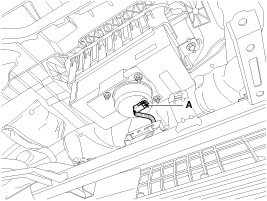
| 24. |
Disconnect the wiring mounting fasteners (A).
|
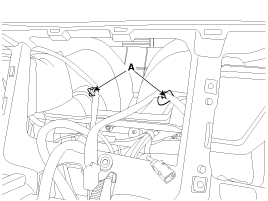
| 25. |
After loosening the mounting bolts and nuts, remove the main crash pad assembly (A).
|
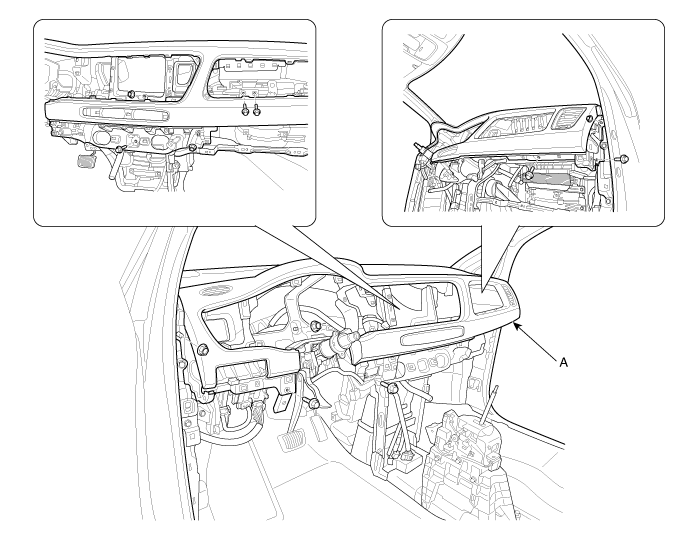
| 26. |
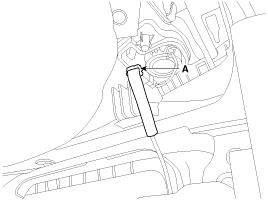
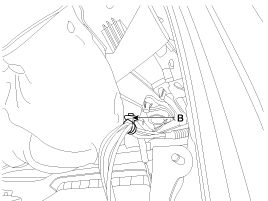
Right before removing the main crash pad, slightly pull out
the main crash pad and remove the twitter speaker connector (A) and
mounting (B) located at both ends.
[LH]
[RH]
|
| 27. |
Install in the reverse order of removal.
|

 Main Crash Pad Assembly Components and Components Location
Component Location
1. Main crash pad assembly
...
 Cowl Cross Bar Assembly Components and Components Location
Component Location
1. Cowl cross bar assembly
...
Other Information:
Heated Oxygen Sensor (HO2S) Specifications
Specification
[Bank 1/Sensor 1]
ItemSpecificationHeater Resistance (Ω)3.3 ~ 4.1[20°C(68°F)]
[Bank 1/Sensor 2]
ItemSpecificationHeater Resistance (Ω)3.3 ~ 4.1[20°C(68°F)]
[Ba ...
Power sliding door non-opening conditions
The power sliding door is not automatically opened, but closed under the following
conditions. If the main or sub control button is pushed for power opening operation,
the chime sounds once.
When ...
Categories
- Home
- First Generation
- Second Generation
- Third generation
- Kia Sedona YP 2014-2026 Owners Manual
- Kia Sedona YP 2014-2026 Service Manual

Copyright © www.kisedona.com 2016-2026