
 Kia Sedona: Rear Bumper beam Assembly Repair procedures
Third generation YP (2014-2026) / Kia Sedona YP Service Manual / Body (Interior and Exterior) / Rear Bumper / Rear Bumper beam Assembly Repair procedures
| Replacement |
|

Take care not to bend or scratch the trim and panels. |

| 1. |
Remove the rear bumper cover.
(Refer to Rear Bumper - "Rear Bumper Cover") |
| 2. |
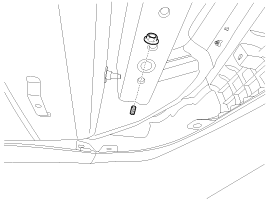
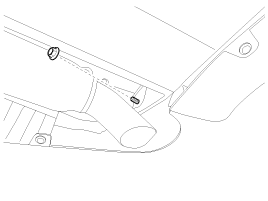
Loosen the rear bumper under side mounting nuts.
[LH]
[RH]
|
| 3. |
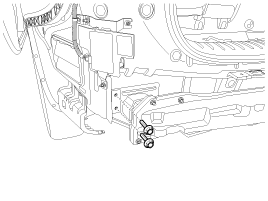
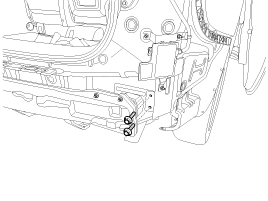
Loosen the rear bumper beam mounting bolts.
[LH]
[RH]
|
| 4. |
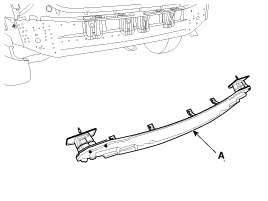
Remove the rear bumper beam assembly (A).
|
| 5. |
Install in the reverse order of removal.
|

 Rear Bumper beam Assembly Components and Components Location
Component Location
1. Rear Bumper Beam Assembly
...
 Front Seat
...
Other Information:
Yaw-rate and G Sensor Repair procedures
Removal
1.
Remove the ignition key from the vehicle.
2.
Disconnect the battery negative cable and wait for at least thirty seconds before beginning work.
3.
Remove the floor console.
(Re ...
Smart key Diagnostic Repair procedures
Inspection
Self Diagnosis With Scan Tool
Using the GDS, it can quickly diagnose defects of SMART KEY
system. GDS can operate actuator forcefully, monitor input/output values
and perform self d ...
Categories
- Home
- First Generation
- Second Generation
- Third generation
- Kia Sedona YP 2014-2026 Owners Manual
- Kia Sedona YP 2014-2026 Service Manual

Copyright © www.kisedona.com 2016-2026