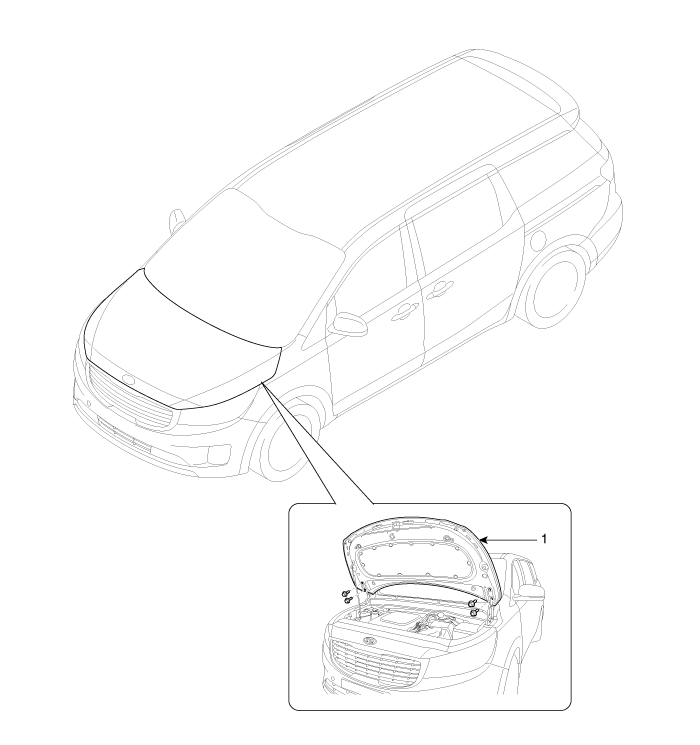
 Kia Sedona: Hood Assembly Components and Components Location
Third generation YP (2014-2025) / Kia Sedona YP Service Manual / Body (Interior and Exterior) / Hood / Hood Assembly Components and Components Location
| Component Location |

| 1. Hood assembly |
 Repair procedures
Adjustment
1.
After loosening the hinge (A) mounting bolt, adjust the hood (B) clearance by moving it up and down, or left and right.
2.
Adjust the hood height by turning the hood overslam bum ...
 Hood Assembly Repair procedures
Replacement
•
Be careful not to damage the hood and body.
•
When removing and installing the hood, work in a group o ...
Other Information:
Description and Operation
Warning Lamp Activation
Warning Lamp Behavior after Ignition On
As soon as the operating voltage is applied to the SRSCM ignition input, the SRSCM activates the warning lamp for a lamp check.
T ...
General Safety Information and Caution
Precautions
General Precautions
Please read the following precautions carefully before performing the airbag system service.
Carefully observe the instructions described in this manual
as mi ...
Categories
- Home
- First Generation
- Second Generation
- Third generation
- Kia Sedona YP 2014-2025 Owners Manual
- Kia Sedona YP 2014-2025 Service Manual
Copyright © www.kisedona.com 2016-2025
