Replacement
1.
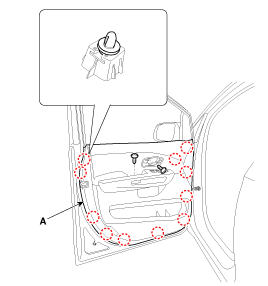
Remove the front door trim.
(Refer to Front Door - "Front Door Trim")
2.
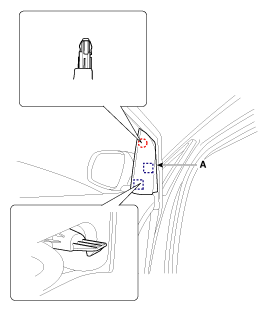
Remove the front door inside handle cage (A).
3.
Loosen the screw and remove the IMS switch.
4. ...
Description and Operation
Warning Lamp Activation
Warning Lamp Behavior after Ignition On
As soon as the operating voltage is applied to the SRSCM ignition input, the SRSCM activates the warning lamp for a lamp check.
T ...
 Kia Sedona: Front Door Trim Repair procedures

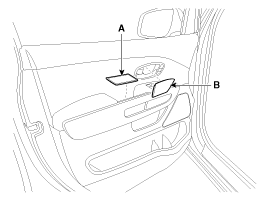

 Front Door Trim Components and Components Location
 Front Door Inside Handle Repair procedures