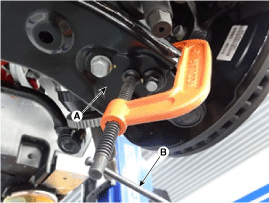
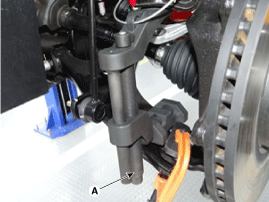
Removal
1.
Remove the front wheel and tire (A) from front hub.
Tightening torque:
88.2 ~ 107.8 N.m (9.0 ~ 11.0 kgf.m, 65.0 ~ 79.5 lb-ft)
Be careful not to damag ...
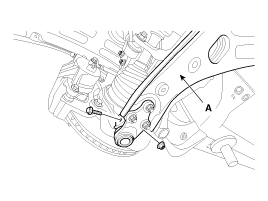
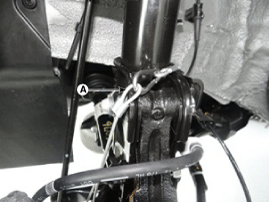
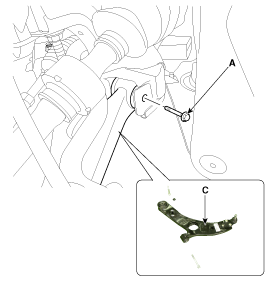
Removal
1.
Loosen the bolt (A) and then disconnect the universal joint assembly from the pinion of the steering gear box.
Tightening torque:
32.4 ~ 37.3N.m (3.3 ~ 3.8kgf.m, 23.9 ~ 27.5lb-ft)
...
Other Information:
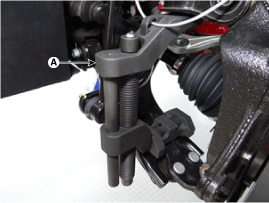
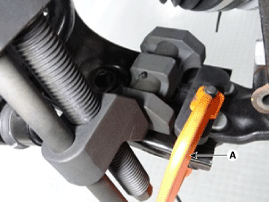
Special Service Tools
Special Service Tools
Tool (Number and name)IllustrationUse09977-3R000Disc & hub assembly bolt removerRemoval and installation of disc & hub assembly.
...
Variable Intake Solenoid (VIS) Valve Description and Operation
Description
Variable Intake manifold Solenoid (VIS) valves are installed
on the intake manifold (VIS Valve 1) and the surge tank (VIS Valve 2).
VIS valves 1 and 2 control vacuum modulators that ...
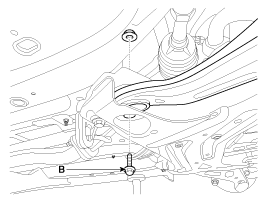
 Kia Sedona: Front Lower Arm Repair procedures
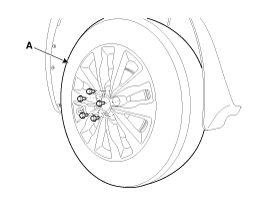


 Front Strut Assembly Repair procedures
 Front Stabilizer Bar Repair procedures