
 Kia Sedona: SS-A Solenoid Valve(ON/OFF) Repair procedures
Third generation YP (2014-2026) / Kia Sedona YP Service Manual / Automatic Transaxle System / Automatic Transaxle Control System / SS-A Solenoid Valve(ON/OFF) Repair procedures
| Inspection |
| 1. |
Turn ignition switch OFF. |
| 2. |
Remove the battery and battery tray.
(Refer to Engine Electrical System - "Battery") |
| 3. |
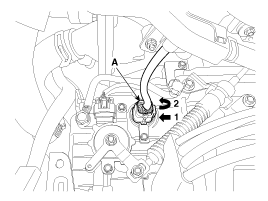
Disconnect the solenoid valve connector (A).
|
| 4. |
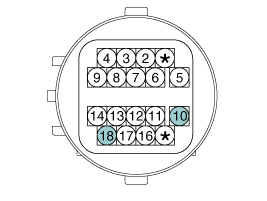
Measure the resistance between power terminal (10) and signal terminal (18).
|
| Removal |
| 1. |
Remove the under cover.
(Refer to Engine Mechanical System - "Engine Room Under Cover") |
| 2. |
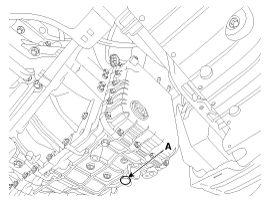
Remove the ATF drain plug (A), allow the fluid to drain out and then reinstall the drain plug.
|

| 3. |
Remove the battery and battery tray.
(Refer to Engine Electrical System - "Battery") |
| 4. |
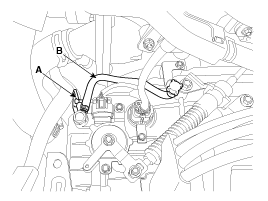
Remove the wiring bracket (A) and the air breather hose (B).
|
| 5. |
Lift the vehicle after loosening valve body cover upper bolts. |
| 6. |
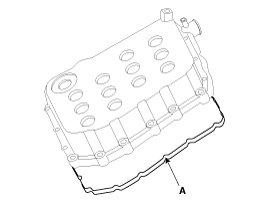
Remove the valve body cover (A) by loosening bolts.
|
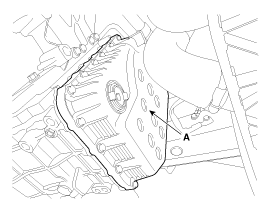
| 7. |
Remove the solenoid valve harness (A) and oil temperature sensor (B) after removing the bolts.
|
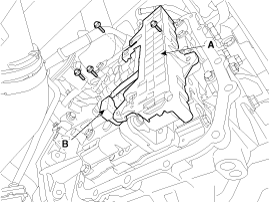
| 8. |
Remove solenoid valve support bracket (A).
|
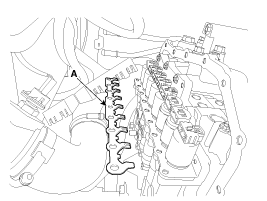
| 9. |
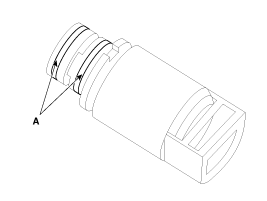
Remove the SS-A solenoid valve (A).
|
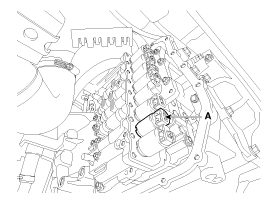
| Installation |
| 1. |
Install in the reverse order of removal. |
|
 SS-A Solenoid Valve(ON/OFF) Schematic Diagrams
Circuit Diagram
...
 SS-B Solenoid Valve(ON/OFF) Specifications
Specification
ItemSpecificationControl typeON/OFFCurrent value (mA)5.0 Coil resistance(Ω)10 ~ 11
...
Other Information:
Rear Shock Absorber Repair procedures
Removal
1.
Remove the rear wheel and tire (A) from rear hub.
Tightening torque:
88.2 ~ 107.8 N.m (9.0 ~ 11.0 kgf.m, 65.0 ~ 79.5 lb-ft)
Be careful not to damage ...
Surround View Monitoring Switch Repair procedures
Removal
Floor Console Switch
1.
Disconnect the negative (-) battery terminal.
2.
Remove the floor console upper cover.
(Refer to Body - "Floor Console Assembly")
3.
Disconnect the floor ...
Categories
- Home
- First Generation
- Second Generation
- Third generation
- Kia Sedona YP 2014-2026 Owners Manual
- Kia Sedona YP 2014-2026 Service Manual

Copyright © www.kisedona.com 2016-2026