 Kia Sedona: Pantoscopic Camera Repair procedures
Third generation YP (2014-2026) / Kia Sedona YP Service Manual / Body Electrical System / Surround View Monitoring (SVM) System / Pantoscopic Camera Repair procedures
| Removal |
Front Pantoscopic Camera
| 1. |
Disconnect the negative (-) battery terminal. |
| 2. |
Remove the front bumper cover.
(Refer to Body - "Front Bumper Cover") |
| 3. |
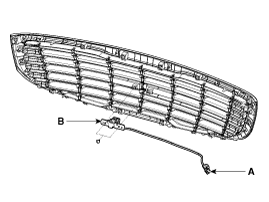
Remove the pantoscopic camera (B) after loosening the mounting screws and connector (A).
|
Rear Pantoscopic Camera
| 1. |
Disconnect the negative (-) battery terminal. |
| 2. |
Remove the tail gate back panel.
(Refer to Body - "Tail Gate Back Panel") |
| 3. |
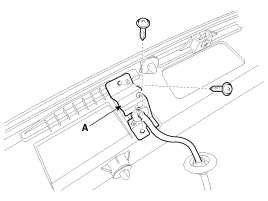
Remove the rear pantoscopic camera (A) after loosening the screws.
|
Left/ Right Pantoscopic Camera
| 1. |
Disconnect the negative (-) battery terminal. |
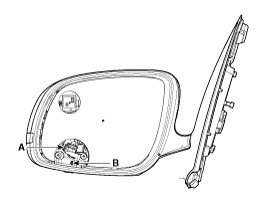
| 2. |
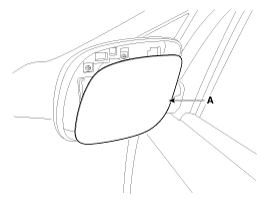
Remove the mirror (A) from mirror holder.
|
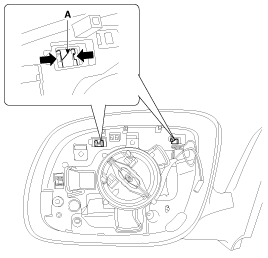
| 3. |
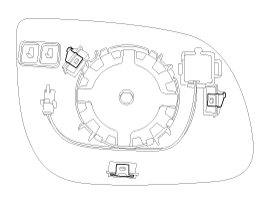
Disconnect the heating connector (A) from the mirror.
|
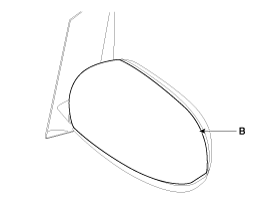
| 4. |
Remove the door mirror housing (B) after separating the mounting clips (A).
|
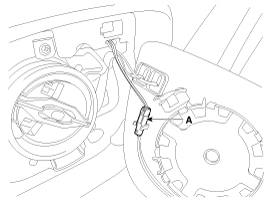
| 5. |
Disconnect the left/ right pantoscopic camera connector (A). |
| 6. |
Remove the left / right pantoscopic camera (B) after loosening the screws.
|
| Installation |
Front Pantoscopic Camera
| 1. |
Install the front pantoscopic camera and then connect the connector. |
| 2. |
Install the front bumper cover. |
| 3. |
Connect the negative (-) battery terminal. |
Rear Pantoscopic Camera
| 1. |
Install the rear pantoscopic camera. |
| 2. |
Install the tail gate back panel. |
| 3. |
Connect the negative (-) battery terminal. |
Left/ Right Pantoscopic Camera
| 1. |
Install the left / right pantoscopic camera and then connect the connector. |
| 2. |
Install the door mirror housing. |
| 3. |
Install the door mirror. |
| 4. |
Connect the negative (-) battery terminal. |
 Pantoscopic Camera Components and Components Location
Components
...
 Surround View Monitoring Switch Repair procedures
Removal
Floor Console Switch
1.
Disconnect the negative (-) battery terminal.
2.
Remove the floor console upper cover.
(Refer to Body - "Floor Console Assembly")
3.
Disconnect the floor ...
Other Information:
Inhibitor Switch Schematic Diagrams
Circuit Diagram
...
Driving with a trailer
Towing a trailer requires a certain amount of experience. Before setting out
for the open road, you must get to know your trailer. Acquaint yourself with the
feel of handling and braking with the ...
Categories
- Home
- First Generation
- Second Generation
- Third generation
- Kia Sedona YP 2014-2026 Owners Manual
- Kia Sedona YP 2014-2026 Service Manual
Copyright © www.kisedona.com 2016-2026

