 Kia Sedona: Cowl Cross Bar Assembly Repair procedures
Third generation YP (2014-2025) / Kia Sedona YP Service Manual / Body (Interior and Exterior) / Crash Pad / Cowl Cross Bar Assembly Repair procedures
| Replacement |
Put on gloves to protect your hands. |
|
| 1. |
Remove the cowl top cover.
(Refer to "Cowl Top Cover") |
| 2. |
Remove the both front seats.
(Refer to Front Seat - "Front Seat Assembly ") |
| 3. |
Remove the main crash pad assembly.
(Refer to Crash Pad - "Main Crash Pad Assembly") |
| 4. |
Disconnect the steering column connectors.
(Refer to Steering System - "Steering Column and Shaft") |
| 5. |
Down the steering column after loosening the mounting bolts.
(Refer to Steering System - "Steering Column and Shaft") |
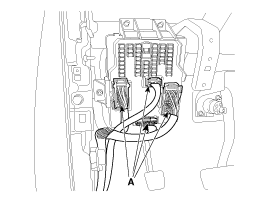
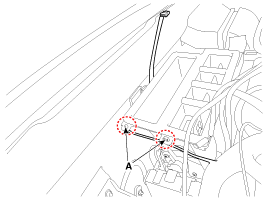
| 6. |
Disconnect the passenger compartment junction box connectors (A).
|
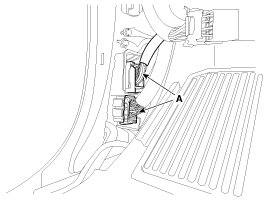
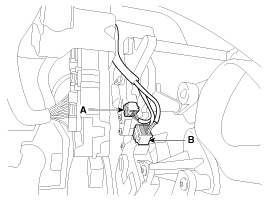
| 7. |
Disconnect the multi box connectors (A).
[Driver''s]
[Passenger''s]
|
| 8. |
Disconnect the airbag control module (SRSCM) connector (A).
|
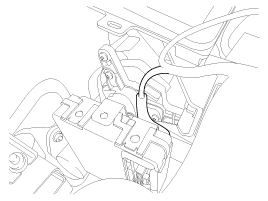
| 9. |
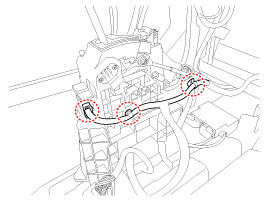
Disconnect the wiring mounted fastener.
|
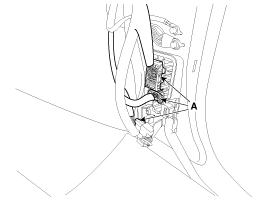
| 10. |
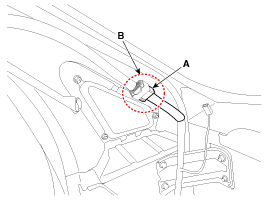
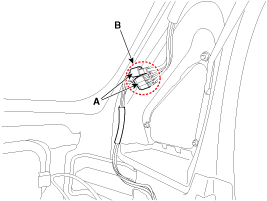
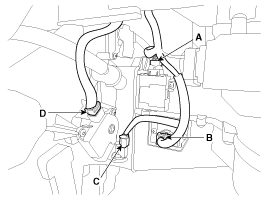
Disconnect the connector (A) and the mounting clips (B) in the front pillar.
[Driver''s]
[Passenger''s]
|
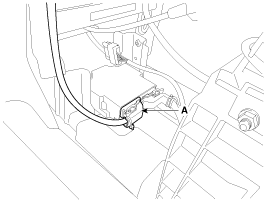
| 11. |
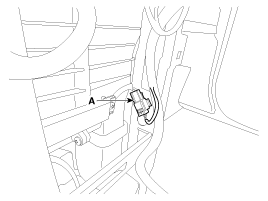
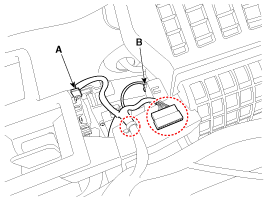
Disconnect the smart key antenna connector (A).
|
| 12. |
Loosen the nut and remove the antenna (A).
|
| 13. |
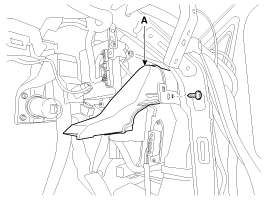
Loosen the screw and remove the air duct (A).
|
| 14. |
Disconnect the heater and blower unit connector.
|
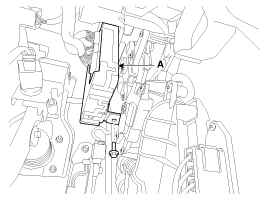
| 15. |
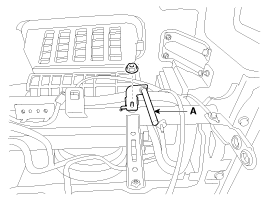
Loosen the bolt and separate the smart key unit (A).
|
| 16. |
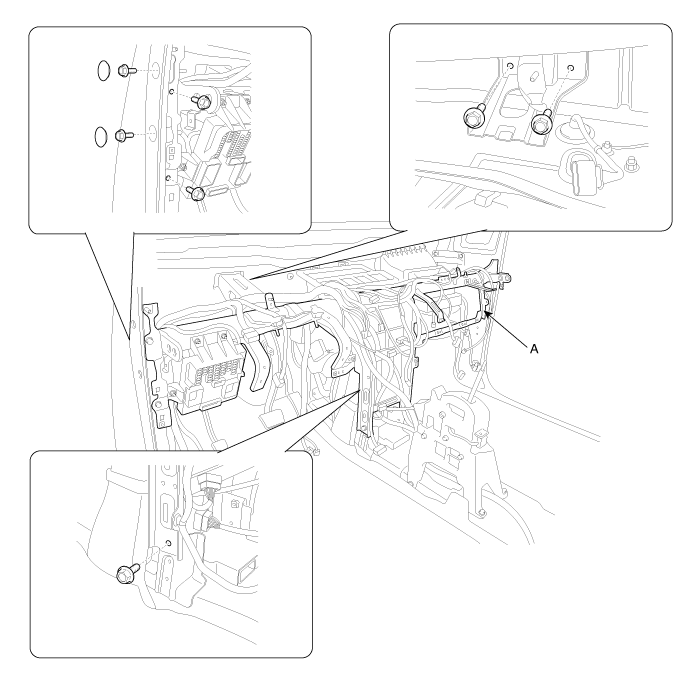
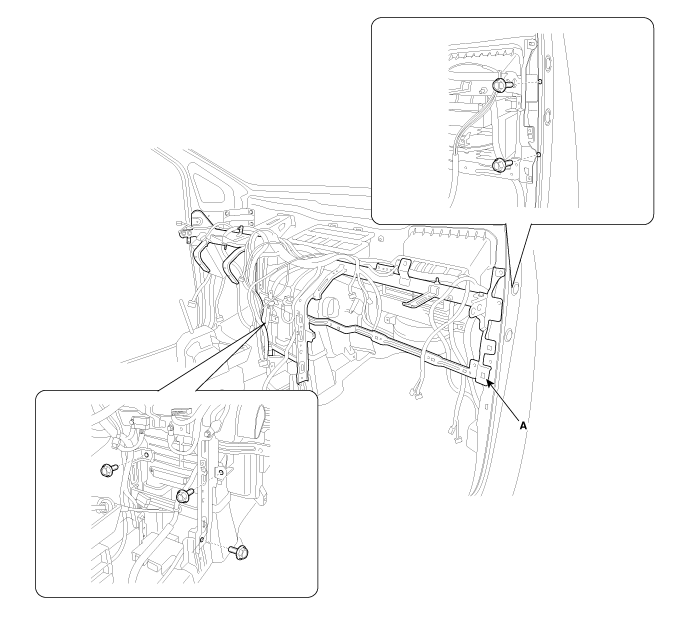
After loosening the mounting bolts and nuts, remove the cowl cross bar assembly (A).
[LH]
[RH]
|
| 17. |
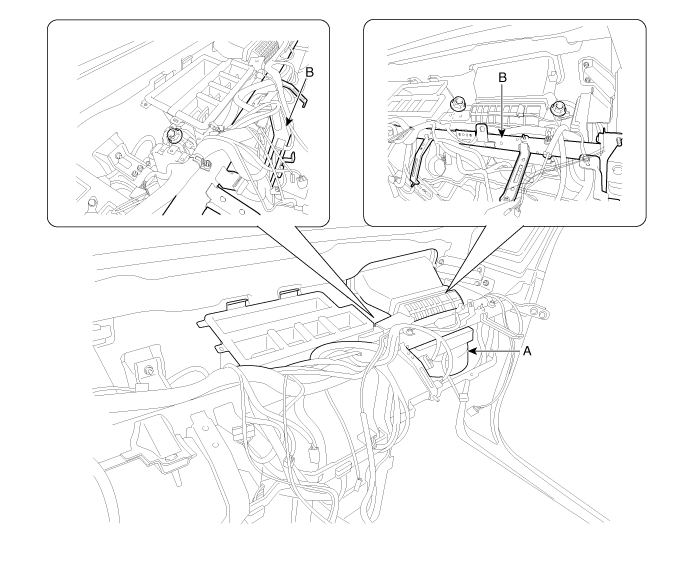
Loosen the nuts and remove the cowl cross bar assembly (B) from air conditioning unit (A).
|
| 18. |
Install in the reverse order of removal.
|
 Cowl Cross Bar Assembly Components and Components Location
Component Location
1. Cowl cross bar assembly
...
 Roof Trim
...
Other Information:
To defog inside windshield
1. Set the fan speed to the desired position.
2. Select desired temperature.
3. Select the or
position.
4. The outside (fresh) air and air conditioning will be selected automatically.
If the ...
Battery replacement
A smart key battery should last for several years, but if the smart key is not
working properly, try replacing the battery with a new one. If you are unsure how
to use your smart key or replace ...
Categories
- Home
- First Generation
- Second Generation
- Third generation
- Kia Sedona YP 2014-2025 Owners Manual
- Kia Sedona YP 2014-2025 Service Manual
Copyright © www.kisedona.com 2016-2025


